Essential Steps for Installing Timber Flooring in Southport
Table Of Contents
Planning the Layout
Before beginning the installation of timber flooring, careful planning is crucial. Begin by assessing the room dimensions and the existing features, such as doors and windows. This assessment helps determine the best direction for the planks to lay. Typically, running the boards parallel to the longest wall creates a more spacious appearance. Take note of the natural light source, as placing the boards to reflect light can enhance the overall aesthetic.
Next, consider the type of timber you are using and its specific characteristics. Different species can have varying grain patterns and colours, affecting the final look. Lay out a few planks in the proposed arrangement before securing them down. This dry fit allows for adjustments and ensures the pattern complements the space. Adjusting the layout at this stage can help identify any issues that may arise during installation, making for a smoother process overall.
Optimal Patterns for Timber Placement
Selecting the right pattern for the placement of timber flooring can greatly influence the overall aesthetic of a space. Common choices include straight planks, herringbone, and diagonal patterns. Straight planks offer a classic look, ideal for minimalistic settings. Herringbone adds a touch of elegance and can enhance the sense of movement in a room. Diagonal patterns can create an illusion of a larger area, making them a suitable option for smaller spaces.
Consider the dimensions of the room and the direction of natural light when choosing a layout. A north-south arrangement may enhance the brightness of a space, whereas east-west can offer a more subdued feel. Evaluating any existing features, such as doorways or fireplaces, can also guide your decision. An optimal layout not only complements the architecture but also contributes to the comfort and functionality of the environment.
Cutting the Timber Planks
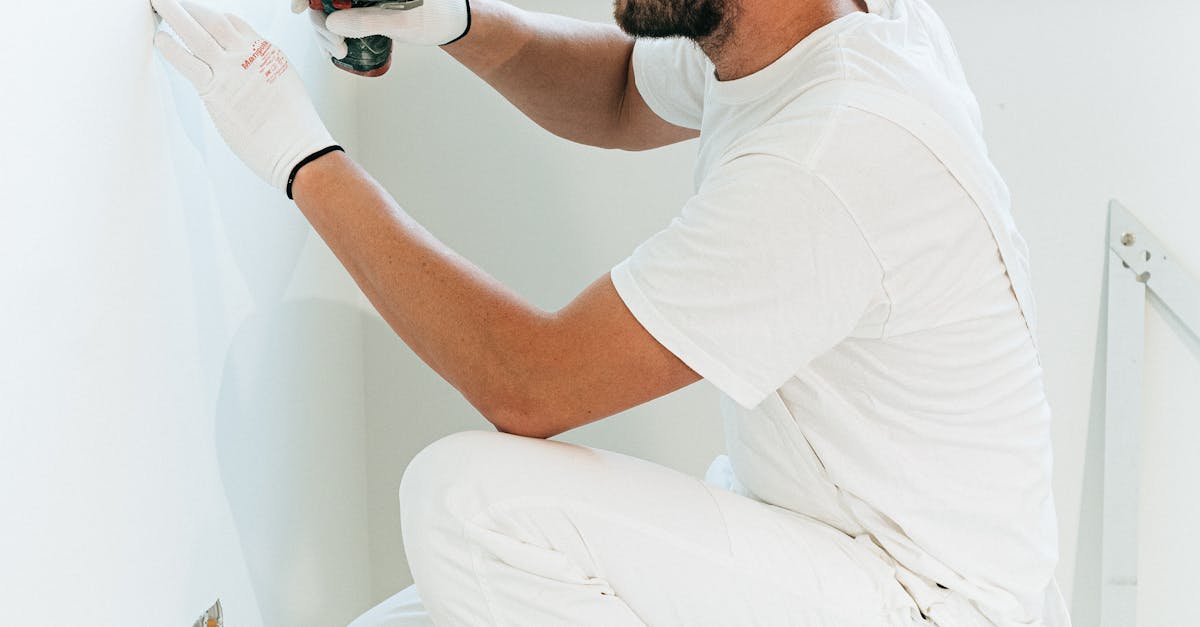
Accurate cutting of the timber planks is crucial for a seamless installation. Start by measuring each area where the flooring will be laid. Utilise a measuring tape and a square to mark the cut lines. Ensure that cuts are precise to avoid gaps or overlaps. A circular saw is typically recommended for straight cuts. A jigsaw can be useful for irregular shapes or around obstacles. Remember to account for expansion gaps along the edges of the planks.
Always wear proper safety gear when operating cutting tools. This includes safety glasses and gloves. It is also advisable to practice on a scrap piece of timber before cutting the actual planks. This will help gauge the saw’s settings and ensure clean cuts. After making the cuts, inspect each piece to confirm that they meet the required dimensions. Any discrepancies should be addressed before proceeding with the installation.
Techniques for Accurate Cuts
Accuracy in cutting timber planks is vital for achieving a professional finish when installing flooring. A high-quality saw, such as a mitre saw or table saw, can provide clean and precise cuts. Ensuring that the blade is sharp helps to prevent splintering, which can compromise the overall look of the floor. Measuring each plank before cutting plays a crucial role in maintaining consistent lengths throughout the installation. Using a calliper or tape measure will aid in achieving the correct dimensions.
Marking the timber with a pencil before cutting is also important for ensuring accuracy. Instead of relying on visual estimates, it’s advisable to use a square for marking straight lines along the grain of the wood. Doing this will minimise the chances of making uneven cuts. Clamping the timber securely to a workbench during the cutting process enhances stability, allowing for greater control over the saw. Taking these steps will significantly improve the quality of each cut, leading to a smoother installation process.
Installing the First Row
Starting with the first row is crucial for the overall aesthetics and alignment of the timber flooring. Ensure that the planks are laid parallel to the longest wall in the room. Lay a straightedge along the wall and measure the width of the planks. This will help determine how much space to leave for expansion. Use a chalk line to mark the starting point accurately.
Once the preparation is complete, begin positioning the first plank. Insert spacers between the plank and the wall to maintain the proper gap for expansion. This gap is essential as timber can expand and contract with changes in temperature and humidity. Secure the plank in place, either through nailing or gluing, depending on the chosen installation method. Continue adding planks along the first row, ensuring that each plank aligns perfectly with the previous one to create a seamless appearance.
Ensuring Straight Alignment
Achieving straight alignment is crucial for a visually appealing finish and ensures the longevity of the flooring. Start by measuring and marking a straight chalk line across the width of the room, using a spirit level to verify its accuracy. This serves as a reference point for laying the first row of timber planks. It's essential to maintain precise measurements from the walls to prevent any errors that could accumulate and affect the overall layout.
When installing the first row, position the planks along the chalk line, ensuring the edges are flush with the wall. Use spacers to create an appropriate expansion gap between the boards and the wall. This gap is vital as it allows for natural wood expansion and contraction, preventing warping and buckling over time. Periodically check the alignment as you progress, making adjustments as necessary to keep the installation true.
FAQS
What should I consider when planning the layout for my timber flooring?
When planning the layout, consider the room’s dimensions, the direction of natural light, and the optimal pattern for timber placement to enhance the overall aesthetic.
What are some optimal patterns for timber placement?
Common patterns for timber placement include straight, herringbone, and chevron. Each pattern creates a distinct look, so choose one that complements your interior design style.
What tools do I need for cutting timber planks?
Essential tools for cutting timber planks include a circular saw, a mitre saw, a measuring tape, a square, and safety equipment like goggles and ear protection.
How can I ensure accurate cuts when preparing my timber flooring?
To ensure accurate cuts, measure carefully twice before cutting, use a straight edge to guide your saw, and take your time to avoid mistakes.
What is the best way to install the first row of timber flooring?
To install the first row, start against a straight wall, use spacers to maintain an expansion gap, and ensure that it is perfectly aligned before securing it in place.
Related Links
Key Stages in the Vinyl Flooring Installation ProcessA Comprehensive Guide to Laminate Flooring Installation Techniques
How to Measure and Plan for Your Flooring Installation Effectively
Common Challenges During the Flooring Installation Process
Step-by-Step Guide to Self-Installing Flooring in Southport